> ## Documentation Index
> Fetch the complete documentation index at: https://developers.learn.ink/llms.txt
> Use this file to discover all available pages before exploring further.
# Setup guide
> Step-by-step guide to creating, testing, and registering a webhook endpoint
This guide walks through the four steps to get your webhook endpoint set up and receiving events from LearnInk.
1. Identify the events you want to monitor
2. Create and deploy your backend endpoint
3. Test in the staging environment
4. Register in production
***
## Step 1 — Identify the events you want to monitor
An **Event Catalog** listing all available events, their payload schemas, and example data is available inside the LearnInk admin dashboard.
To access it: **Settings → Developers → Webhook → Event Catalog**
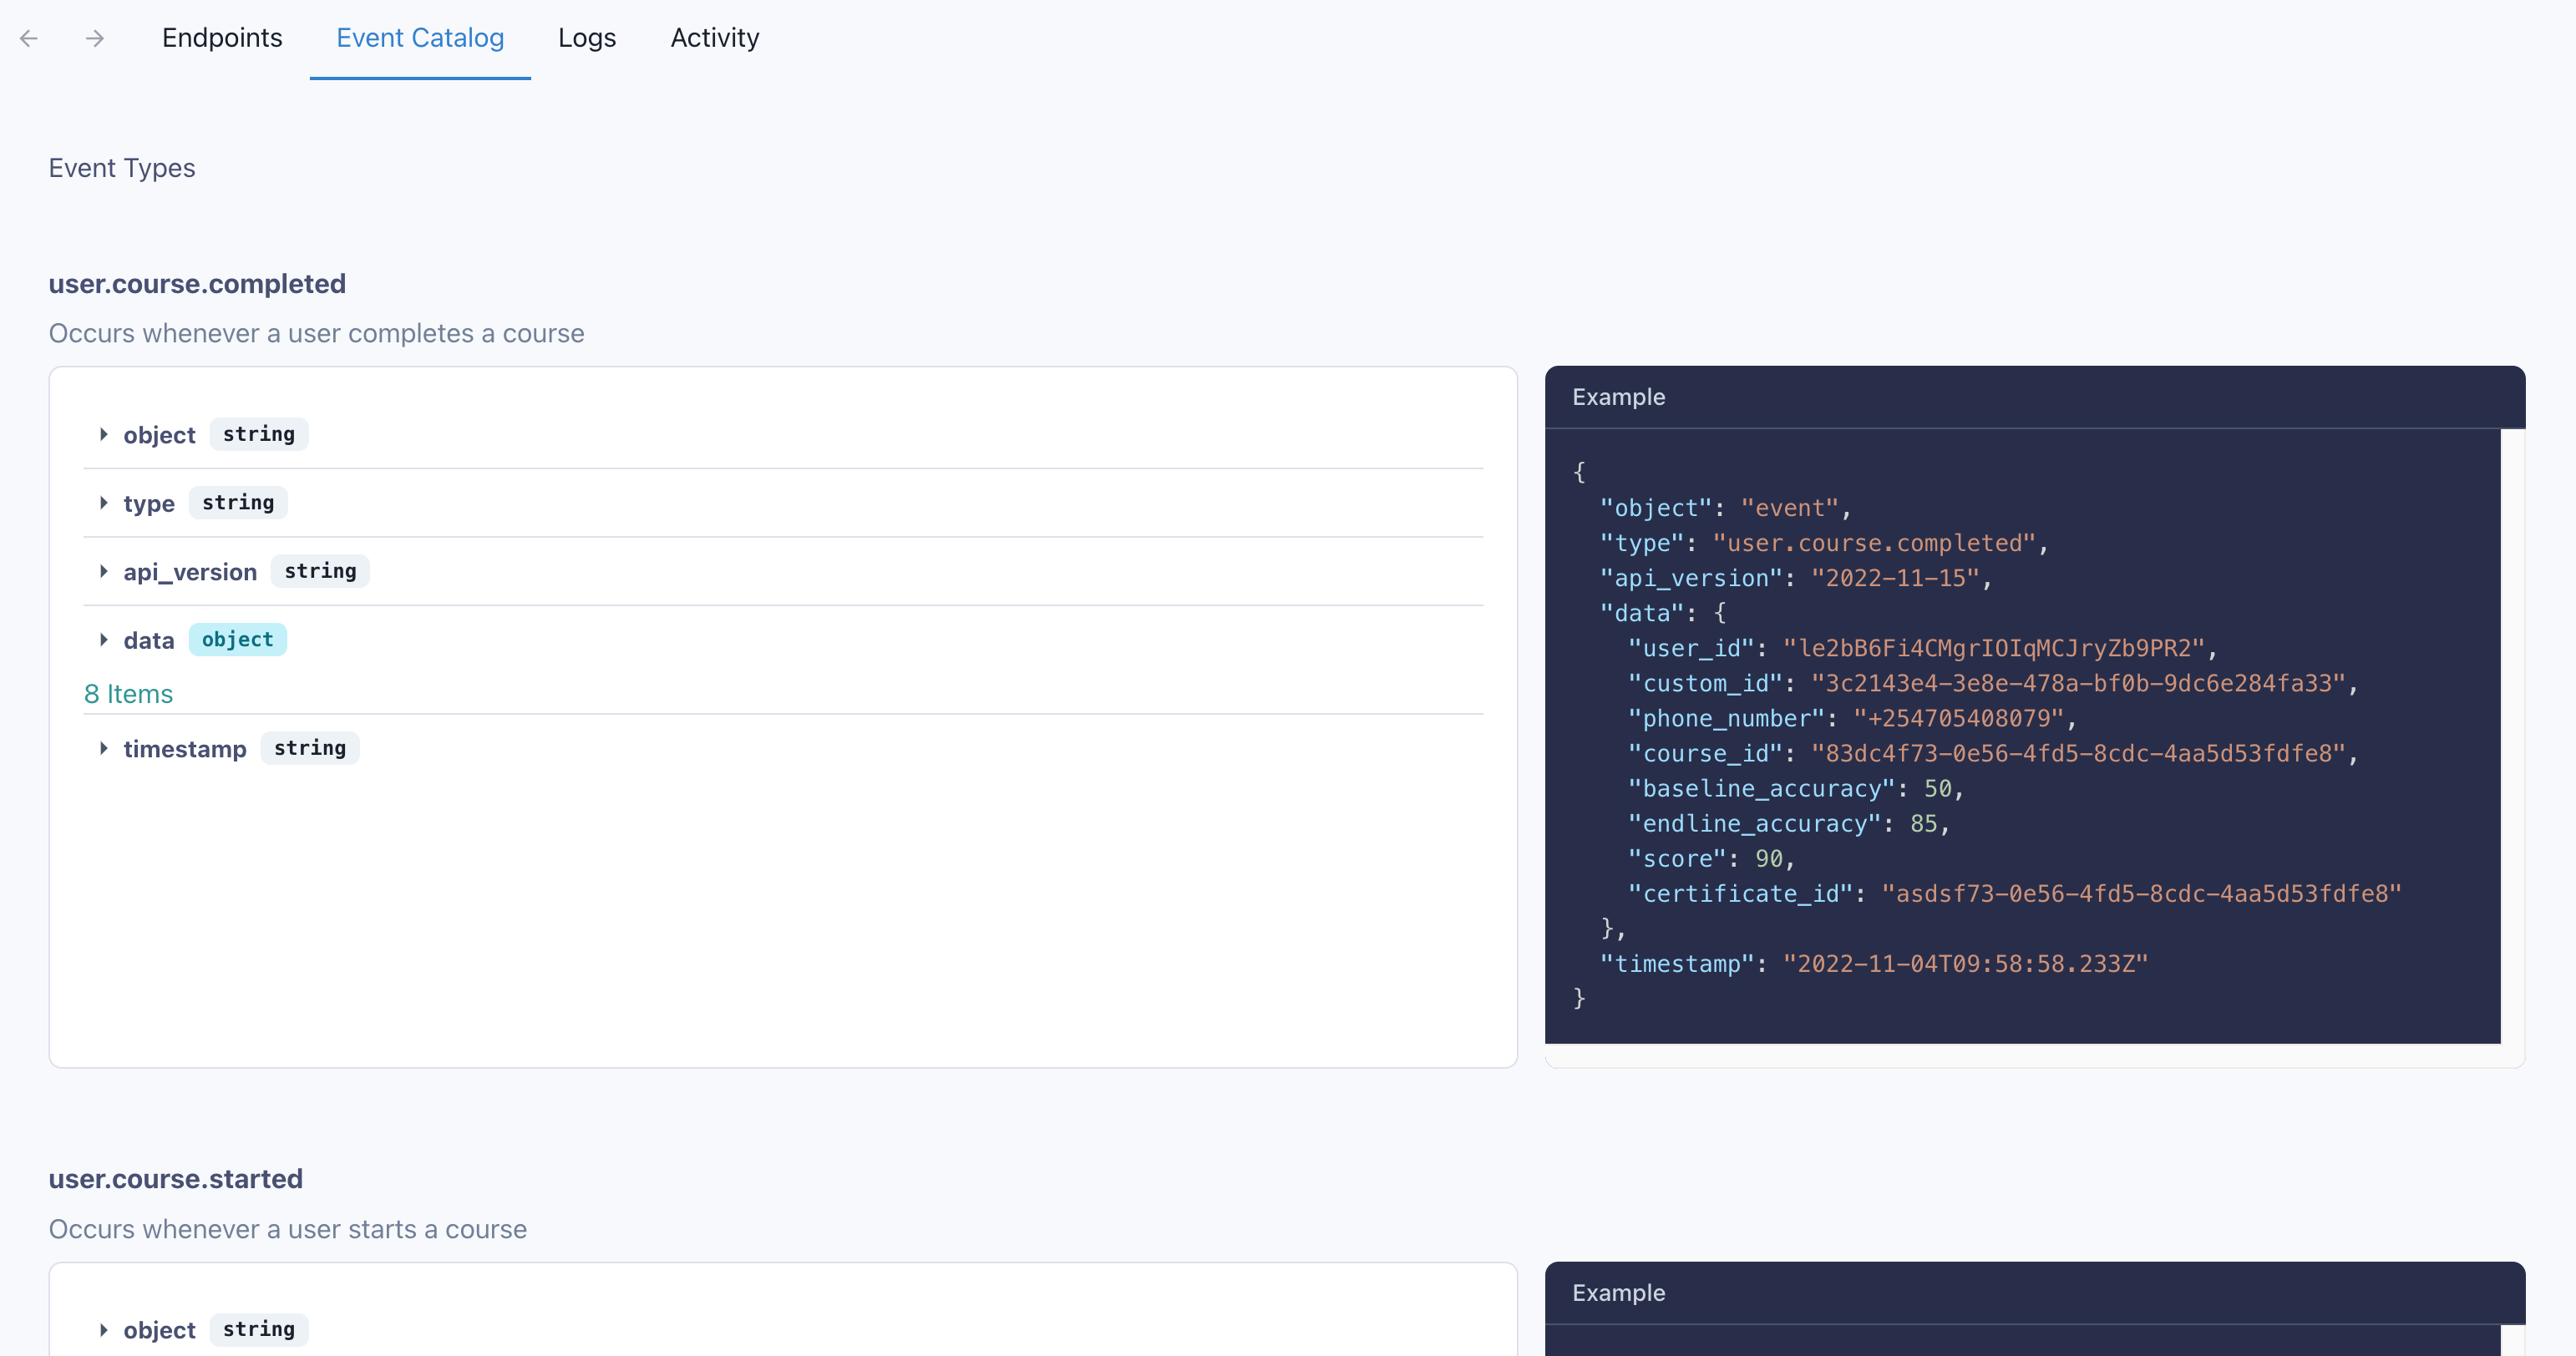 Browse the catalog and note which events are relevant to your use case. When you register your endpoint you'll choose which events to subscribe to — you can update this selection at any time.
***
## Step 2 — Create your endpoint
### Handle the event payload
Your endpoint receives a `POST` request with a JSON body. Check the `type` field and route to the appropriate handler. You can use `api_version` to handle any future breaking changes to the payload format — currently all events use version `2022-11-15` and no action is required on your part unless LearnInk notifies you of a version update.
Example payload for the `user.course.started` event:
```json theme={null}
{
"object": "event",
"type": "user.course.started",
"api_version": "2022-11-15",
"data": {
"user_id": "le2bB6Fi4CMgrIOIqMCJryZb9PR2",
"custom_id": "3c2143e4-3e8e-478a-bf0b-9dc6e284fa33",
"phone_number": "+254705408079",
"course_id": "83dc4f73-0e56-4fd5-8cdc-4aa5d53fdfe8"
},
"timestamp": "2022-11-04T09:58:58.233Z"
}
```
### Verify the request signature
All requests from LearnInk include Svix signature headers, which you should use to verify the request is genuine before processing it.
| Header | Description |
| ---------------- | ----------------------------------------------------------------- |
| `Svix-Id` | Unique message ID — consistent across retries of the same message |
| `Svix-Timestamp` | Unix timestamp in seconds |
| `Svix-Signature` | Base64-encoded HMAC signature for verification |
Example headers:
```json theme={null}
{
"svix-id": "msg_p5jXN8AQM9LWM0D4loKWxJek",
"svix-signature": "v1,g0hM9SsE+OTPJTGt/tmIKtSyZlE3uFJELVlNIOLJ1OE=",
"svix-timestamp": "1668698818"
}
```
See the [Svix verification documentation](https://docs.svix.com/receiving/verifying-payloads/how) for implementation details.
### Return a 200 immediately
Your endpoint must return a `200` response as quickly as possible — before any complex processing. If the response times out, LearnInk treats it as a failure and retries. Process events asynchronously (e.g. via a queue) after acknowledging receipt.
### Retry schedule
If your endpoint does not return a `200`, LearnInk retries delivery on the following schedule:
| Attempt | Delay after previous failure |
| ------- | ---------------------------- |
| 1 | Immediately |
| 2 | 5 seconds |
| 3 | 5 minutes |
| 4 | 30 minutes |
| 5 | 2 hours |
| 6 | 5 hours |
| 7 | 10 hours |
| 8 | 10 hours |
After all attempts are exhausted the message is marked as `Failed`. If an endpoint is disabled or removed, delivery attempts stop immediately.
***
## Step 3 — Test in staging
You should have been invited to a LearnInk staging environment. Always test your endpoint here before connecting to production.
If you don't have staging access, email [info@learn.ink](mailto:info@learn.ink) to request it.
### Add a test endpoint
Navigate to **Settings → Developers → Webhook** in your staging environment and click **+ Add Endpoint**.
Browse the catalog and note which events are relevant to your use case. When you register your endpoint you'll choose which events to subscribe to — you can update this selection at any time.
***
## Step 2 — Create your endpoint
### Handle the event payload
Your endpoint receives a `POST` request with a JSON body. Check the `type` field and route to the appropriate handler. You can use `api_version` to handle any future breaking changes to the payload format — currently all events use version `2022-11-15` and no action is required on your part unless LearnInk notifies you of a version update.
Example payload for the `user.course.started` event:
```json theme={null}
{
"object": "event",
"type": "user.course.started",
"api_version": "2022-11-15",
"data": {
"user_id": "le2bB6Fi4CMgrIOIqMCJryZb9PR2",
"custom_id": "3c2143e4-3e8e-478a-bf0b-9dc6e284fa33",
"phone_number": "+254705408079",
"course_id": "83dc4f73-0e56-4fd5-8cdc-4aa5d53fdfe8"
},
"timestamp": "2022-11-04T09:58:58.233Z"
}
```
### Verify the request signature
All requests from LearnInk include Svix signature headers, which you should use to verify the request is genuine before processing it.
| Header | Description |
| ---------------- | ----------------------------------------------------------------- |
| `Svix-Id` | Unique message ID — consistent across retries of the same message |
| `Svix-Timestamp` | Unix timestamp in seconds |
| `Svix-Signature` | Base64-encoded HMAC signature for verification |
Example headers:
```json theme={null}
{
"svix-id": "msg_p5jXN8AQM9LWM0D4loKWxJek",
"svix-signature": "v1,g0hM9SsE+OTPJTGt/tmIKtSyZlE3uFJELVlNIOLJ1OE=",
"svix-timestamp": "1668698818"
}
```
See the [Svix verification documentation](https://docs.svix.com/receiving/verifying-payloads/how) for implementation details.
### Return a 200 immediately
Your endpoint must return a `200` response as quickly as possible — before any complex processing. If the response times out, LearnInk treats it as a failure and retries. Process events asynchronously (e.g. via a queue) after acknowledging receipt.
### Retry schedule
If your endpoint does not return a `200`, LearnInk retries delivery on the following schedule:
| Attempt | Delay after previous failure |
| ------- | ---------------------------- |
| 1 | Immediately |
| 2 | 5 seconds |
| 3 | 5 minutes |
| 4 | 30 minutes |
| 5 | 2 hours |
| 6 | 5 hours |
| 7 | 10 hours |
| 8 | 10 hours |
After all attempts are exhausted the message is marked as `Failed`. If an endpoint is disabled or removed, delivery attempts stop immediately.
***
## Step 3 — Test in staging
You should have been invited to a LearnInk staging environment. Always test your endpoint here before connecting to production.
If you don't have staging access, email [info@learn.ink](mailto:info@learn.ink) to request it.
### Add a test endpoint
Navigate to **Settings → Developers → Webhook** in your staging environment and click **+ Add Endpoint**.
 Enter your endpoint URL. If your service isn't ready yet, click **Use Svix Play** to generate a temporary test URL you can inspect in the browser.
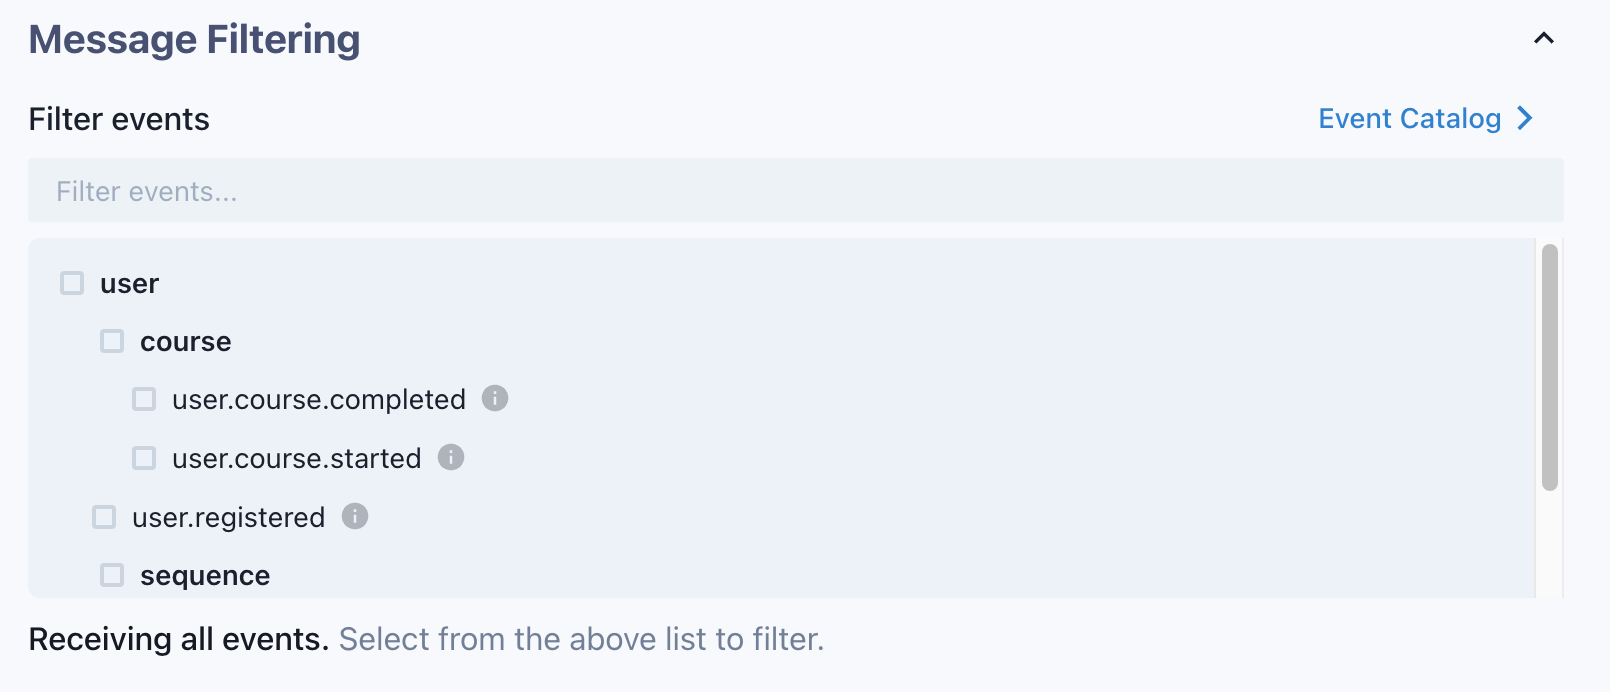
 ### Subscribe to events
Select the events you want to receive. If you leave this blank, you'll be subscribed to all events by default.
### Subscribe to events
Select the events you want to receive. If you leave this blank, you'll be subscribed to all events by default.
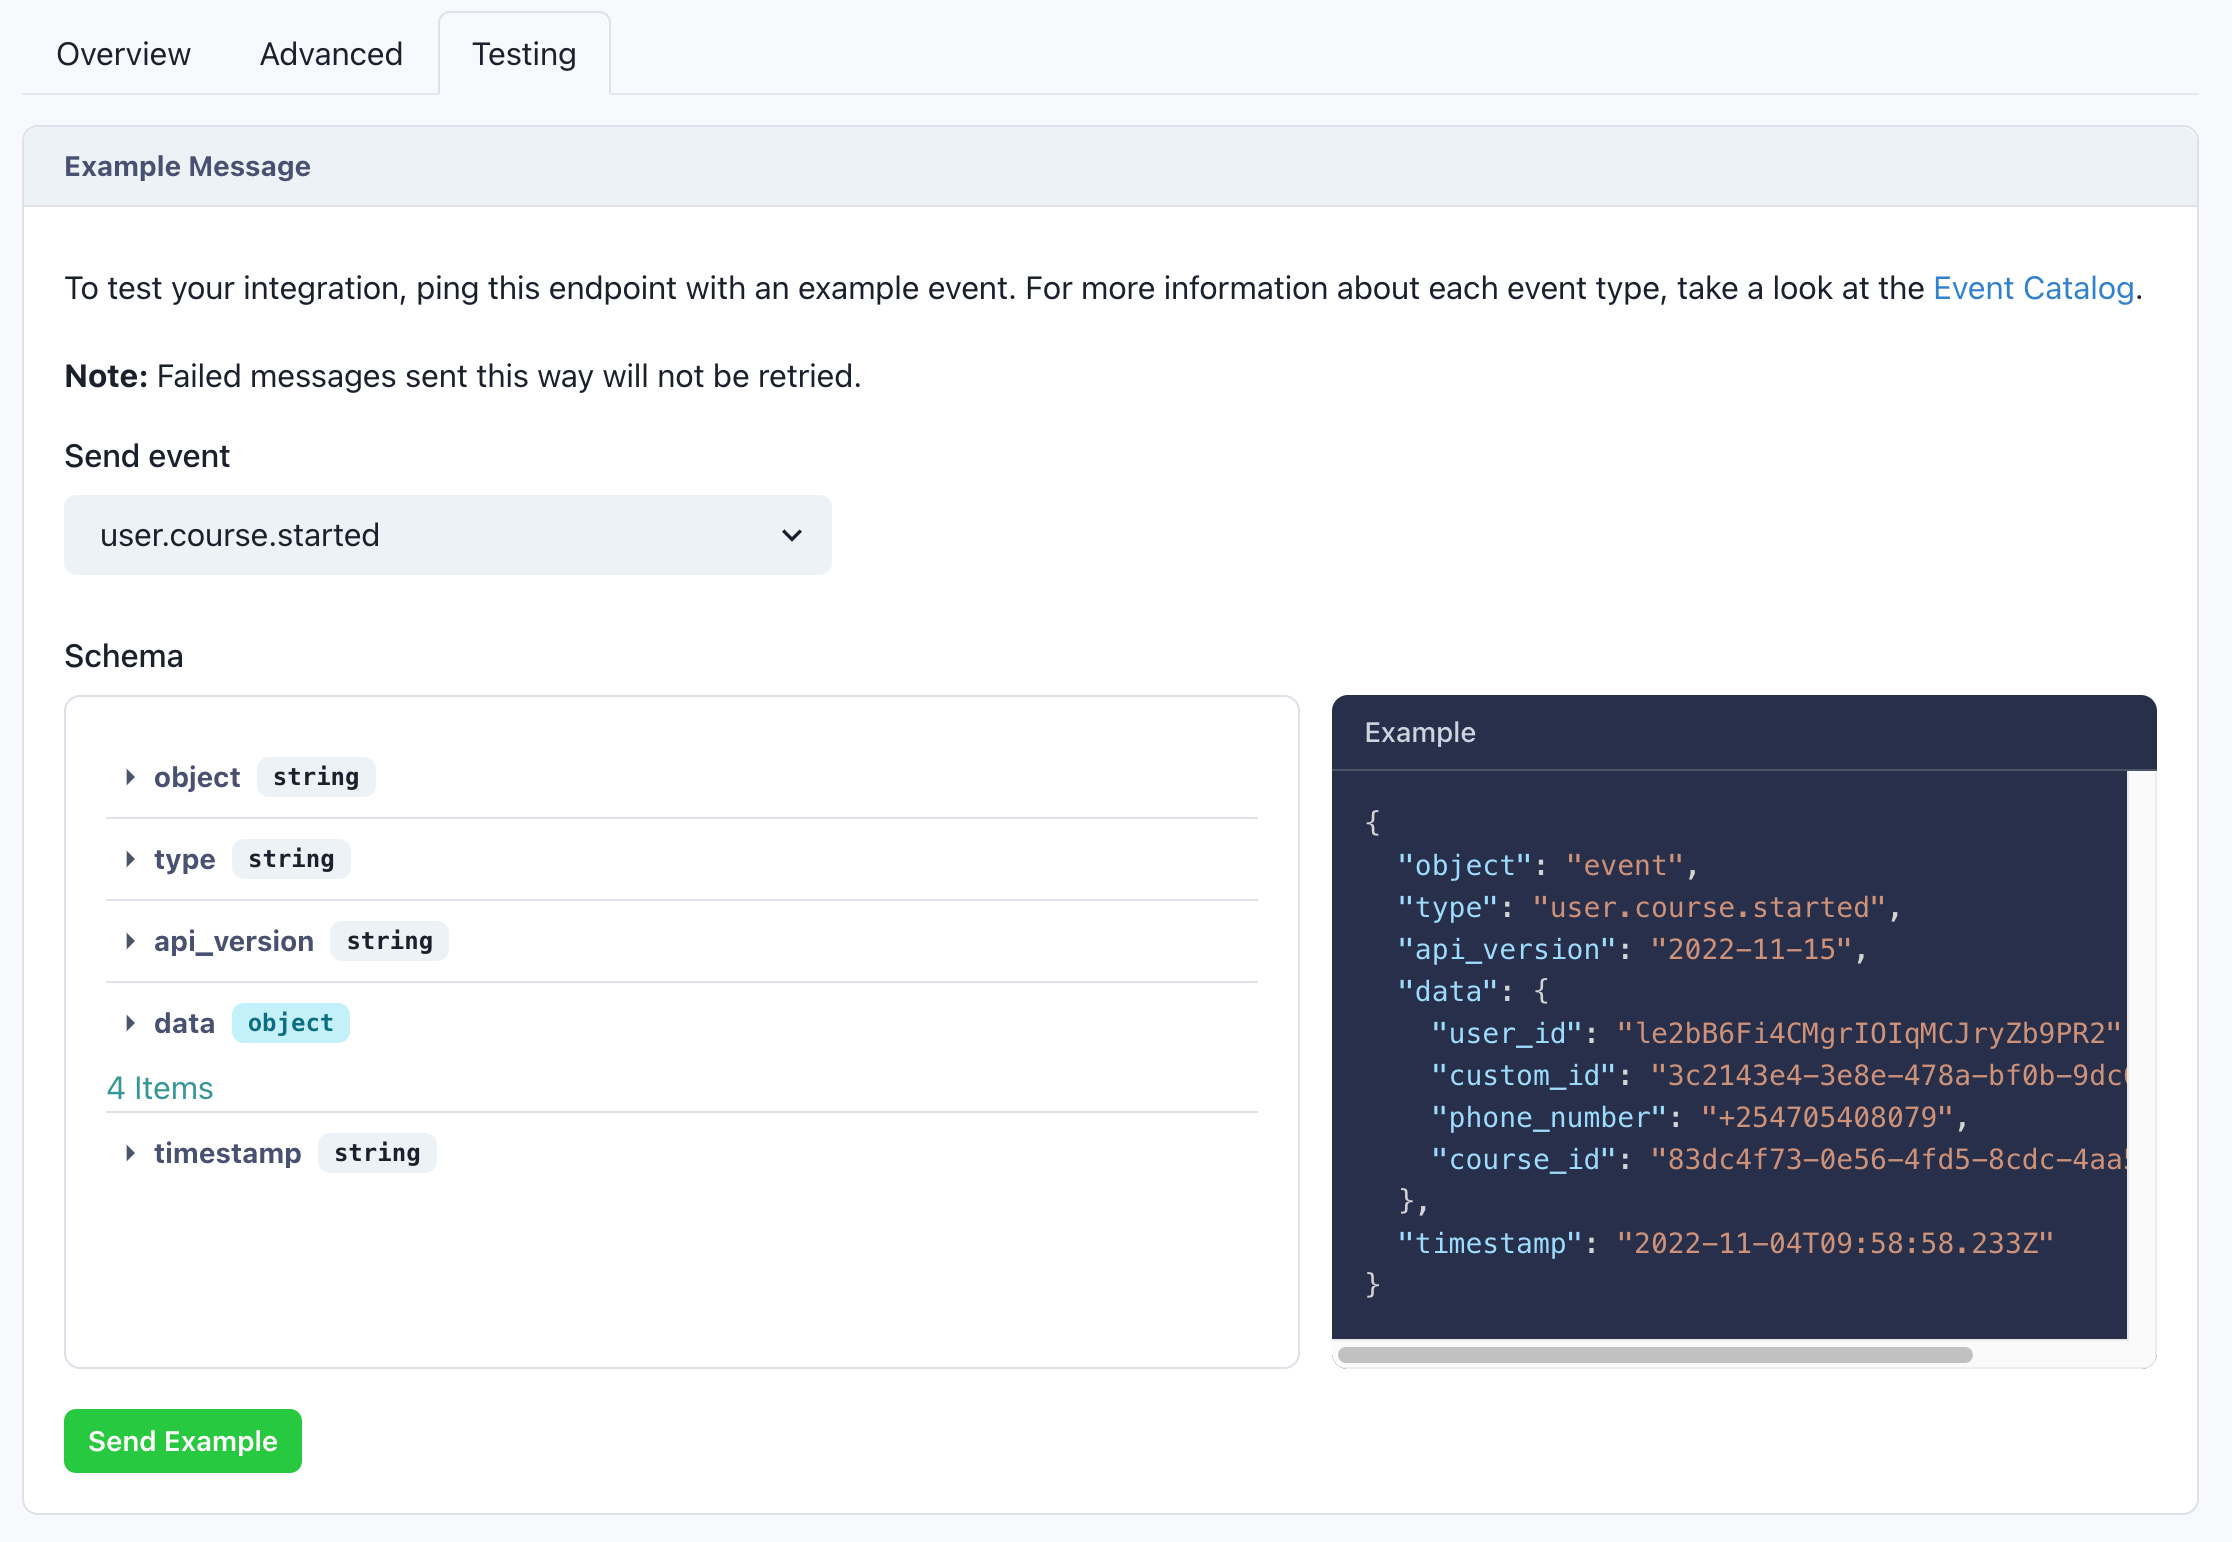
 ### Send a test event
Go to the **Testing** tab, choose an event type, and click **Send Example**. The result will appear in the **Attempted Messages** log below.
### Send a test event
Go to the **Testing** tab, choose an event type, and click **Send Example**. The result will appear in the **Attempted Messages** log below.
 ***
## Step 4 — Register in production
Once you're satisfied with your staging tests, follow the same process in your production LearnInk dashboard to register your production endpoint.
### Filtering message logs
From the endpoint page, filter the message log by **event type** and **date** to locate specific messages quickly.
### Replaying messages
***
## Step 4 — Register in production
Once you're satisfied with your staging tests, follow the same process in your production LearnInk dashboard to register your production endpoint.
### Filtering message logs
From the endpoint page, filter the message log by **event type** and **date** to locate specific messages quickly.
### Replaying messages
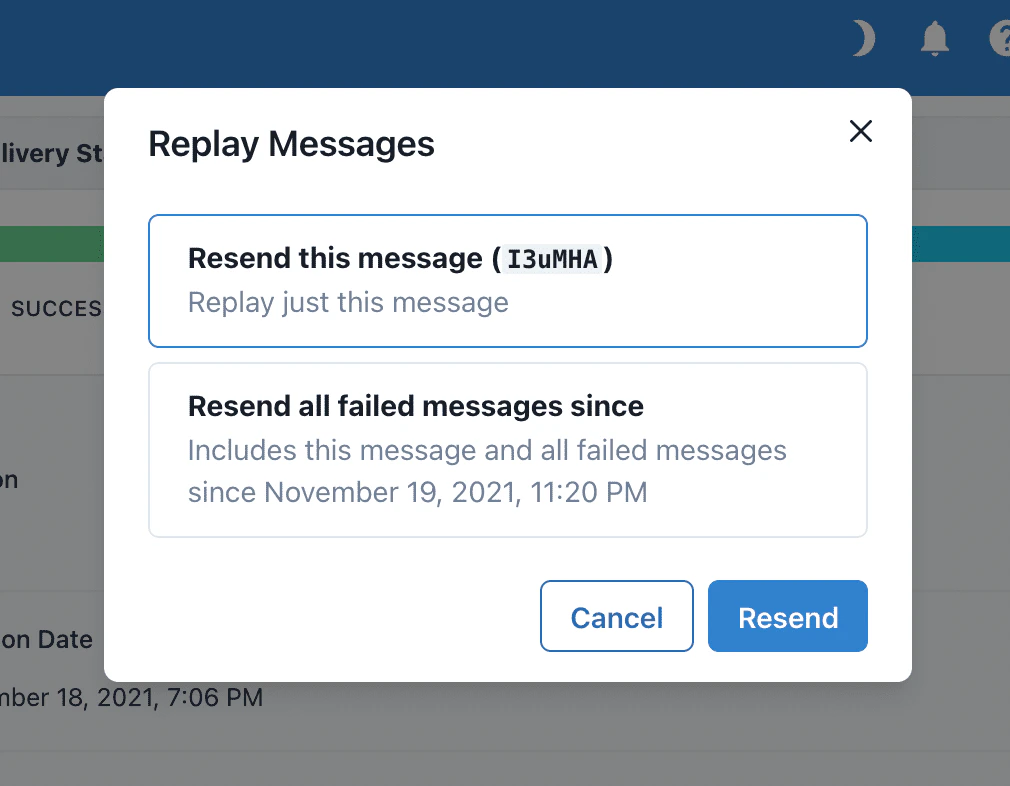
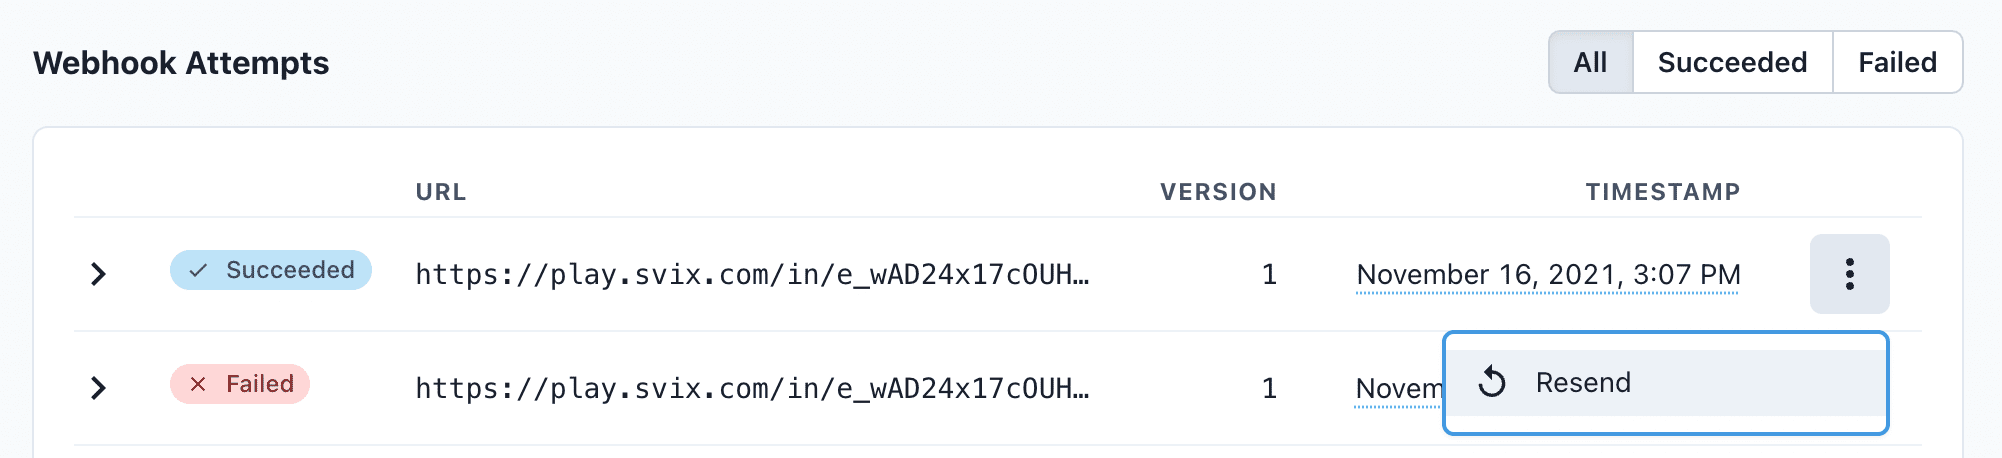 If your service had downtime or your endpoint was misconfigured, you can replay messages without re-triggering the original events:
* **Single message** — Find the message, click the options menu → **Resend**
* **Bulk recovery** — On the endpoint detail page, click **Options → Recover Failed Messages** and select a time window
* **Granular recovery** — Click the options menu on any message → **Replay... → Replay all failed messages since this time**
If your service had downtime or your endpoint was misconfigured, you can replay messages without re-triggering the original events:
* **Single message** — Find the message, click the options menu → **Resend**
* **Bulk recovery** — On the endpoint detail page, click **Options → Recover Failed Messages** and select a time window
* **Granular recovery** — Click the options menu on any message → **Replay... → Replay all failed messages since this time**